I absolutely love falafel. I could eat it every day and be a very happy person. Especially when there’s hummus, pita and olives served along side. But to make authentic falafel, one needs to start with dried chickpeas (something I don’t always have on hand) and remember to soak them overnight (which I rarely remember to do). You don’t actually cook the beans when falafel are made this way which ensures a nice dense texture. While the recipe below yields falafel that are a little softer than the traditional version, they are a great, quick alternative.
The recipe below was adapted from The Minimalist Baker. They are all about simple recipes that can be made with 10 ingredients or less. Check out their blog if that type of cooking is up your alley!
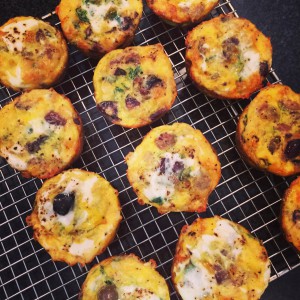
Collard Green Falafel
makes about 25 1.5″ patties
Recipe note: I made a batch of these with almost twice the amount of collards (7.5 ounces/4 cups). I had to add more flour to keep them together and then cook them longer, but if you want to pack in more greens, it’s an option!
- 4 ounces collard greens, stemmed and roughly chopped into 2″ pieces (about 2.5 cups) (see recipe note)
- 1 (15-oz) can chickpeas, rinsed and drained
- 3 medium cloves garlic, minced (about a teaspoon), or more if desired
- 1 tablespoon tahini
- 1 tablespoon fresh lemon juice
- 1/2 teaspoon ground cumin
- 1/8 teaspoon ground cinnamon
- 1/2 teaspoon table salt
- 5 grinds fresh black pepper
- 3 to 4 tablespoons all-purpose flour
- 1/4 cup olive or vegetable oil
Directions:
- Add all ingredients except the flour and oil to a large food processor and pulse to combine. I like to keep just a little texture in the beans if possible and not completely puree everything, so just keep pulsing, stopping to scrape down the bowl when needed, until you get the right consistency. Taste and add more seasoning (salt, cumin, garlic) if desired.
- Transfer mixture to a medium mixing bowl and add 3 tablespoons of flour to start. Mix to combine and add the extra tablespoon of flour if the mixture doesn’t stay together when you clump a little up in your hand.
- Portion out 1 heaping tablespoon of the mixture onto a rimmed baking sheet lined with aluminum foil. Form into a 1-1/2″ wide by 1/2″ tall disk. Continue until you have used up the remaining mixture. Set aside.
- Heat 2 tablespoons oil in a 12″ skillet over medium heat until shimmering. Transfer roughly 12 disks to the oil, making sure not to crowd the pan. Cook until brown and crisp on the first side, about 5 minutes, then flip and cook another 5 minutes on the second side. You may need to add just a little more oil to the pan after flipping in order to get the second side crisp. Once cooked, transfer to a paper towel lined plate to drain. Repeat with remaining oil and mixture. The falafel will firm up a bit when allowed to cool. Serve and enjoy.